


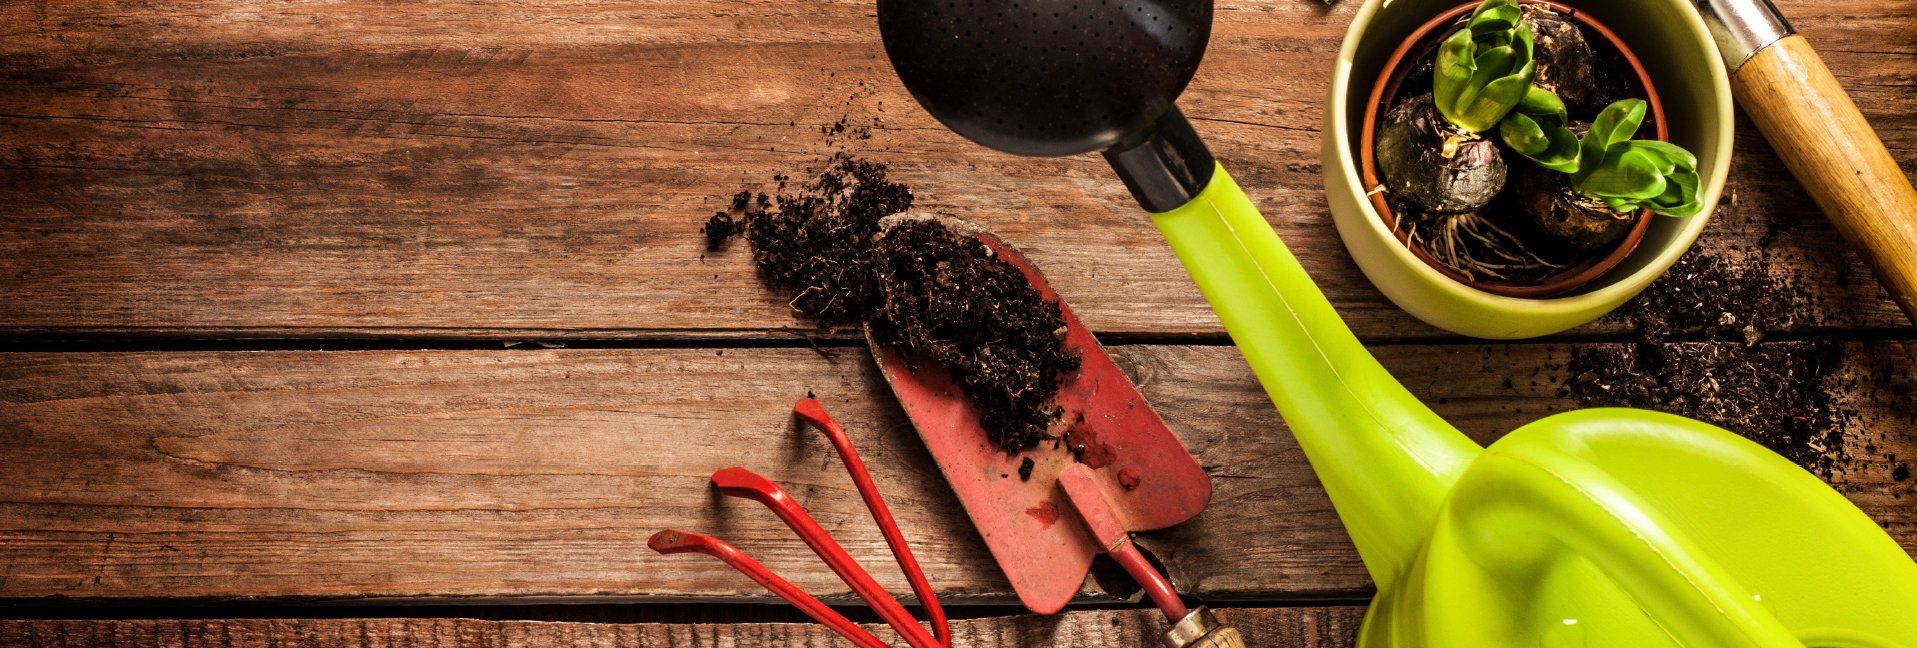
Get Those Hand Tools Ready for Gardening

For many, beginning the gardening season is like waiting for store-bought avocados to ripen:
Not yet
Not yet
Not yet
Too late
But if you were prepared with all your tools and gardening paraphernalia, you might be able to bridge that gap between “not yet” and “
too late.”
So let’s head to the garage or gardening shed and maybe make a side trip to the hardware store to be prepared.

Cleanliness is next to gardening-ness
Now is the best time to clean all the tools that you failed to clean last fall. Start with hand tools like trowels, hori-hori blades, shears, and knives. Start with a bucket of water—you might need plenty if your soil is clay-like—and a thick rag. If you’re lucky, the soil will wash off by hand. If you’re not, you may have to escalate to a plastic scrubbing pad and water.
If you’re really unlucky, it will be time to reach for the wire brush or steel wool. Be sure to get in all those crevices and edges.
When clean, the next step is disinfecting your hand tools. Unlike shovels that rarely come in contact with plants, hand tools are all about plant-to-plant contact, which can spread disease like wildfire.
You should disinfect all hand tools to prevent spread of diseases around your garden. Add one part household bleach to nine parts water and soak for up to 30 minutes. Dry thoroughly.
Alternatively, you can disinfect your clean hand tools with alcohol. There’s no soaking involved, but be careful—it’s flammable! Be sure to do this outside where there is plenty of ventilation.
De-rusting delight
Shovels in particular are prone to rusting. The main cause is that you didn’t properly clean then last fall, so the coating of soil clinging to the metal surface promoted corrosion.
You can try to remove the rust with effective commercial products like Evapo-Rust by soaking—the manufacturer even says you can reuse their product—or you can make your own single-use rust remover.
Fill a bucket with a solution that’s half vinegar and half water and place tools inside. Let soak overnight or longer. Then use a crumpled piece of aluminum foil to scrub off remaining rust in a circular motion.
When rust is gone, rinse in a slightly soapy solution and place the tool in the sun to dry.
Or, you can use a power tool like a drill with a wire brush attached to physically grind away the rust.
Be really sharp
Or at least make sure your tools are. Gardening is so much easier with tools that work the way they were designed, and that means creating a cutting edge.
While those who enjoy power tools will use a grinding wheel to put an edge of shovels, knives, axes, and lawnmower blades, you can do as good a job with a metal file and elbow grease.
There are three kinds of files: bastard (course), second cut (medium) and smooth (fine). Use the bastard to remove nicks or burrs, and a second cut file to create an edge.
Chances are you have one or more already in your toolkit. If you are unsure of which is which, take them to your local hardware store to compare. You might even get some instruction there, too.
To protect and serve
Protecting your garden tools with a multi-purpose spray lubricant will significantly extend their working life. A spray from a product such as WD-40 on gardening equipment like mower blades, shovels, hoes, clippers, and shears will retain a protective coat that keeps grass and debris from sticking.
Better still, it helps prevent formation of rust throughout the growing season. Some people will wipe down tools with a light coating of old-school oil or mineral oil. These work to prevent rust, but can sometimes cause dust and debris to stick over time.
Hand it to yourself
One of the often overlooked in most tools is the grip. Inspect your tools carefully before starting your gardening season, looking for loose grips, splits, or rough spots.
Even though most people use gardening gloves, a splinter isn’t something you want to deal with when dead set on planting.
For shovels and rakes with wooden handles, it won’t hurt at all to run some fine sandpaper over the length of the shaft to detect splits and remove any burrs or rough areas. (Fiberglass and foam coated shafts should merely be inspected and cleaned, but if you find a split, throw it out—fiberglass can’t be smoothed like wood.)
After sanding, take a moment to lightly coat the tool handle with oil, mineral oil, or WD-40 to protect and seal the open grain.
Hanging around?
Yes, a day of gardening makes you tired and sweaty, but your garden tools should be wiped clean after every use and not thrown on a tool bench or into a drawer. Hang them up where you can see them and they’ll be ready for use the next day.
Similarly, don’t just lean shovels, rakes, axes and other large tools into the corner. You’ll find they keep their edges longer and are easier to use if you hang them business-side-up in a covered location.
Tags:Seasonal Living


Acreage Life is part of the Catalyst Communications Network publication family.