Storing Dry Goods Tips From a Prepper’s Wife


Written by Carol J Alexander
June 11, 2019
I didn’t know at the time, but I married a prepper.
I didn’t know until he had me stuffing a year’s supply of pasta, rice, and beans into the kitchen cabinets of our tiny apartment. And sadly, I didn’t know we did it wrong until I spent an evening sifting weevils out of the rice (and washing it with tears of disappointment over the hundreds of dollars we spent on food in case something bad happened).
Politics, stock market fluctuations, and natural disasters send preppers into a frenzy of what we call “stocking up.” Preppers aren’t the only ones, though. Large families and those who live 50 miles from the nearest grocery also find buying in bulk a way of life.
Sometimes all the preparation gets complicated, like deciding where to put all the stuff and how to store it so it doesn’t go bad. Fortunately, after all these years, I now know a thing or two about storing dry goods.
It’s location, location, location
Simply put, store your rice and beans in a cool, dark place—think root cellar, not attic. Avoid places prone to temperature fluctuations and high humidity. According to the National Center for Home Food Preservation, high heat shortens foods’ shelf life. In ideal situations, the shelf life of dried foods is from 4 months to a year. (See chart below.)
Strive to maintain a temperature between 50-70-degrees in your food storage area. If you don’t have a cellar or cool room, choose cabinets away from the stove, oven, dishwasher, or other warm, humid places. No space? Consider closets throughout the house, behind furniture, or under beds. Just make sure the conditions are right and use airtight containers to keep the food free from moisture. And if you live in a humid climate, consider running a dehumidifier or air conditioner in the room.
Cleanliness is important too
As with all food preservation, sanitation is critical. If you’re refilling a bucket with rice that had rice in it previously make sure the bucket is completely clean. Any stray grains or dust residue from the previous batch must be wiped away and the container washed and dried. This will eliminate any pests hiding—or their eggs lingering—to feast on a fresh supply.
Jo Rellime, a homesteader in Ohio, always runs her food storage jars through the dishwasher and then boils them for a few minutes before refilling. Rellime uses her FoodSaver vacuum sealer with the canning jar attachment to preserve dry goods she either dehydrates herself or buys from the store. She’s found this method keeps her food fresher longer than other storage methods.
A bug who can’t breathe can’t survive
Nothing survives without oxygen, so if you remove oxygen from your storage containers, the bugs die. There are a few ways to do this. Some folks purchase oxygen absorbers to insert into their air-tight storage containers. Preppers agree that a 300-500cc absorber is sufficient for a gallon of stored food. For a quart canning jar, use a 50cc absorber.
Rellime uses a “double whammy” technique. “I put an oxygen absorber and silica gel pack in each jar before sealing with my FoodSaver,” she says. The silica gel absorbs any moisture the food may have retained and the oxygen absorber is for “good measure.” She’s been sealing jars this way for at least 5 years with no problems.
What you can safely seal in jars
You can preserve any foods you would not keep in the refrigerator or freezer in jars. Rellime’s favorites include dried herbs and cornflakes.
“If I buy a big box of corn flakes for coatings or toppings,” she says, “I empty it into a half-gallon canning jar and vacuum seal it. Then, I just open when I need some and reseal.”
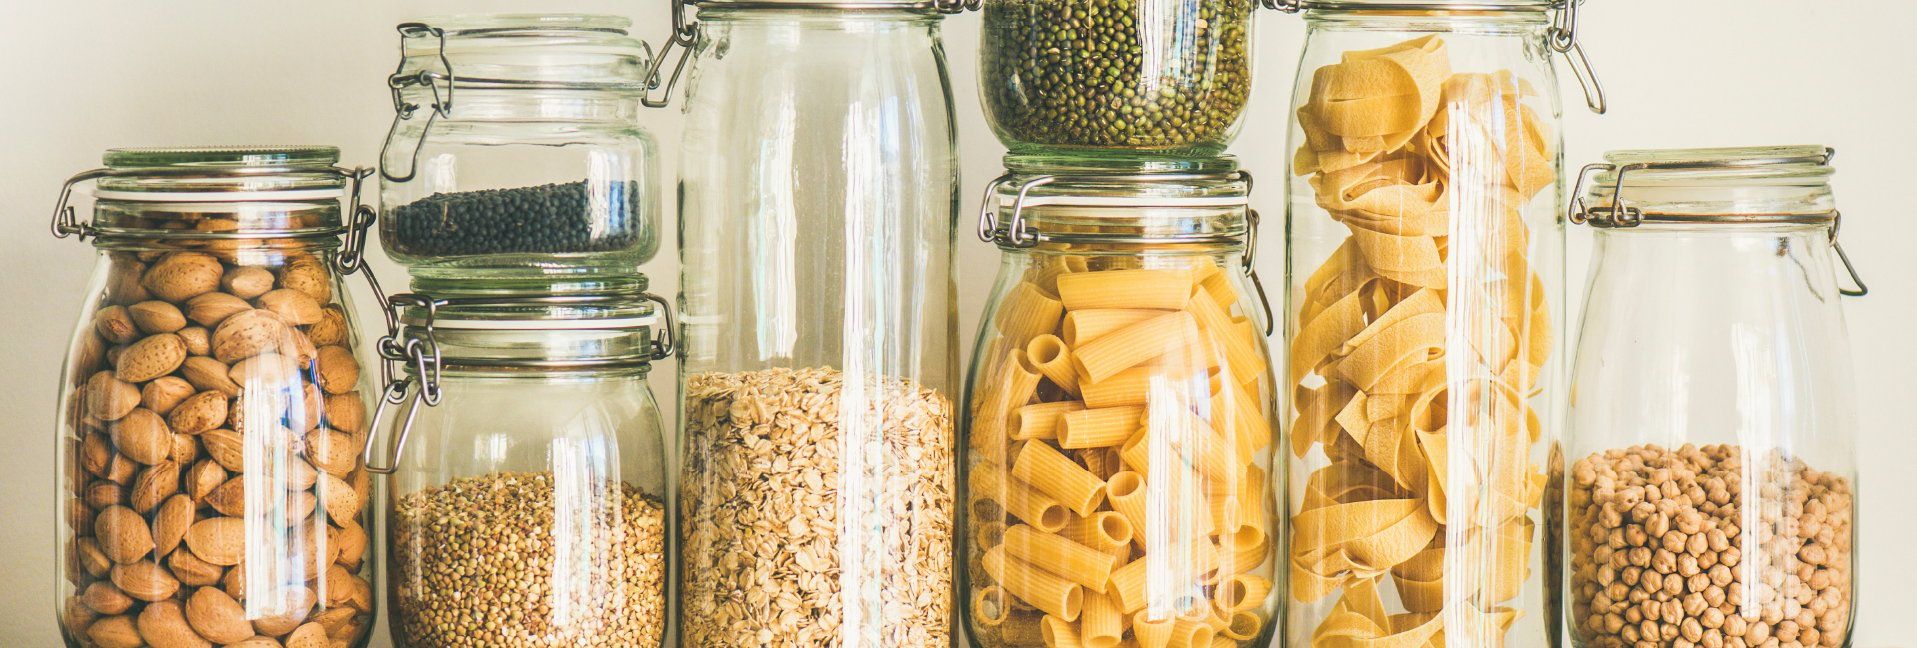
Other things she suggests storing this way include croutons, crackers, pretzels, bread crumbs, cereal, grains, flours, coffee, tea, herbs, nuts, dried fruit, or dry pet food. If you don’t eat it up fast enough, if you buy in bulk, or if you grow and dry a lot of herbs and vegetables, vacuum sealing in jars isn’t really necessary, but it keeps your food fresher longer.
“A lot of food doesn’t go bad, it just goes stale,” Rellime says, “but who wants to eat stale cornflakes? I don’t.”
The following times are for optimal storage without vacuum sealing
Prepared cereals (cornflakes, raisin bran) 6-12 months
Ready-to-prepare cereal (oats, grits) 12 months
Cornmeal 6-12 months
Flour 6-8 months
Pasta 1-2 years
Rice, brown 1 year
Rice, white 2 years
Dried fruits 6 months
Coffee 9 months
Herbs 6 months
Tea 18 months-2 years
Dried vegetables 6-12 months
Crackers 3 months
Source: Texas Agricultural Extension Service
Tips for vacuum-sealing food in glass jars

Here are Rellime’s steps to preserving food in glass jars.
• Fill clean jars with the food product and wipe the rims clean. Add an oxygen absorber and silica pack if this is for the long haul.
• Wide-mouth jars and lids work best.
• Cover the lid with the jar attachment and turn on the vacuum sealer and suck the air out of the jar.
• When the cycle is done, push down on the lid to test the seal.
• Label and date the jar and store in your cool, dark place.
Tags:Seasonal Living

Acreage Life is part of the Catalyst Communications Network publication family.


